Building A Scalable Multi-Tenant Application: A Journey Towards a Robust Multi-Database, Multi-Schema Architecture
Discover how CodeLink developed a SaaS-based timesheet and human management system with a multi-tenant architecture. We offer a comprehensive strategy for tackling data segregation, performance, and scalability challenges and explore our phased implementation for seamless database migration.

Seven years ago at CodeLink, we embarked on a project to develop a SaaS-based application for a startup client. This application was designed as a timesheet and human management system for companies, with each company's data being entirely distinct from the others. Given this, we recognized the need for a multi-tenant application.
Evaluating Multi-Tenant Models
To kick-start the project, we conducted some research, which led us to three potential multi-tenancy models: database-based, Schema-based, and Table-based.
- Database-based multi-tenancy: This model designates a unique database for each tenant. The tenancy logic is managed at the ops layer, leaving the application unaware of individual tenants.
- Schema-based multi-tenancy: In this model, the data for each tenant is isolated in a separate schema, enhancing multi-tenant segregation.
- Table-based multi-tenancy: This model includes a tenant column in each table, with each row linked to a specific tenant, enabling multi-tenant data organization.

Initially, we opted for the third model, Table-based multi-tenancy. It’s the simplest concept for the new application and can work with any database. This choice served us well for a few years. However, as the application's logic became more complex, the number of tenants increased, the data volume expanded, and the demand for privacy from professional customers grew, we encountered several issues:
- A tenant's data encapsulates an entire company's information, making multi-tenant data segregation critical. Any accidental data sharing between companies could lead to catastrophic consequences. The tenancy logic in Table-based multi-tenancy resides in the application layer, which increases the risk of mistakes and data leaks. Every modification requires careful consideration of the tenancy logic, which slows down our development process.
- Our application operates across multiple regions, each with its own database, adding complexity to multi-tenant data management. This structure complicates the process of moving a tenant's data from one region to another. Moreover, if a company decides to cease using our service, completely eradicating all of its data becomes a complex task.
- The need to append an extra index for each table and the necessity to include an extra join clause in every query to connect that table to the 'tenants' table leads to a performance downgrade. This issue becomes more pronounced as the application logic grows more intricate and the table data expands into millions of rows.
These challenges prompted us to reevaluate our system and consider migrating to a different multi-tenancy model. After thorough discussions, we decided to transition our system to the model that combines the Database-based multi-tenancy model with the Schema-based multi-tenancy model. This implies that each tenant's data could be housed in a distinct schema within the same database or, alternatively, in a separate database.
For instance, when dealing with a large customer who demands a superior level of privacy, we can store their data in a different database. Moreover, as our database size expands, we can shift it to another database to mitigate risks. This strategy effectively addresses our issues:

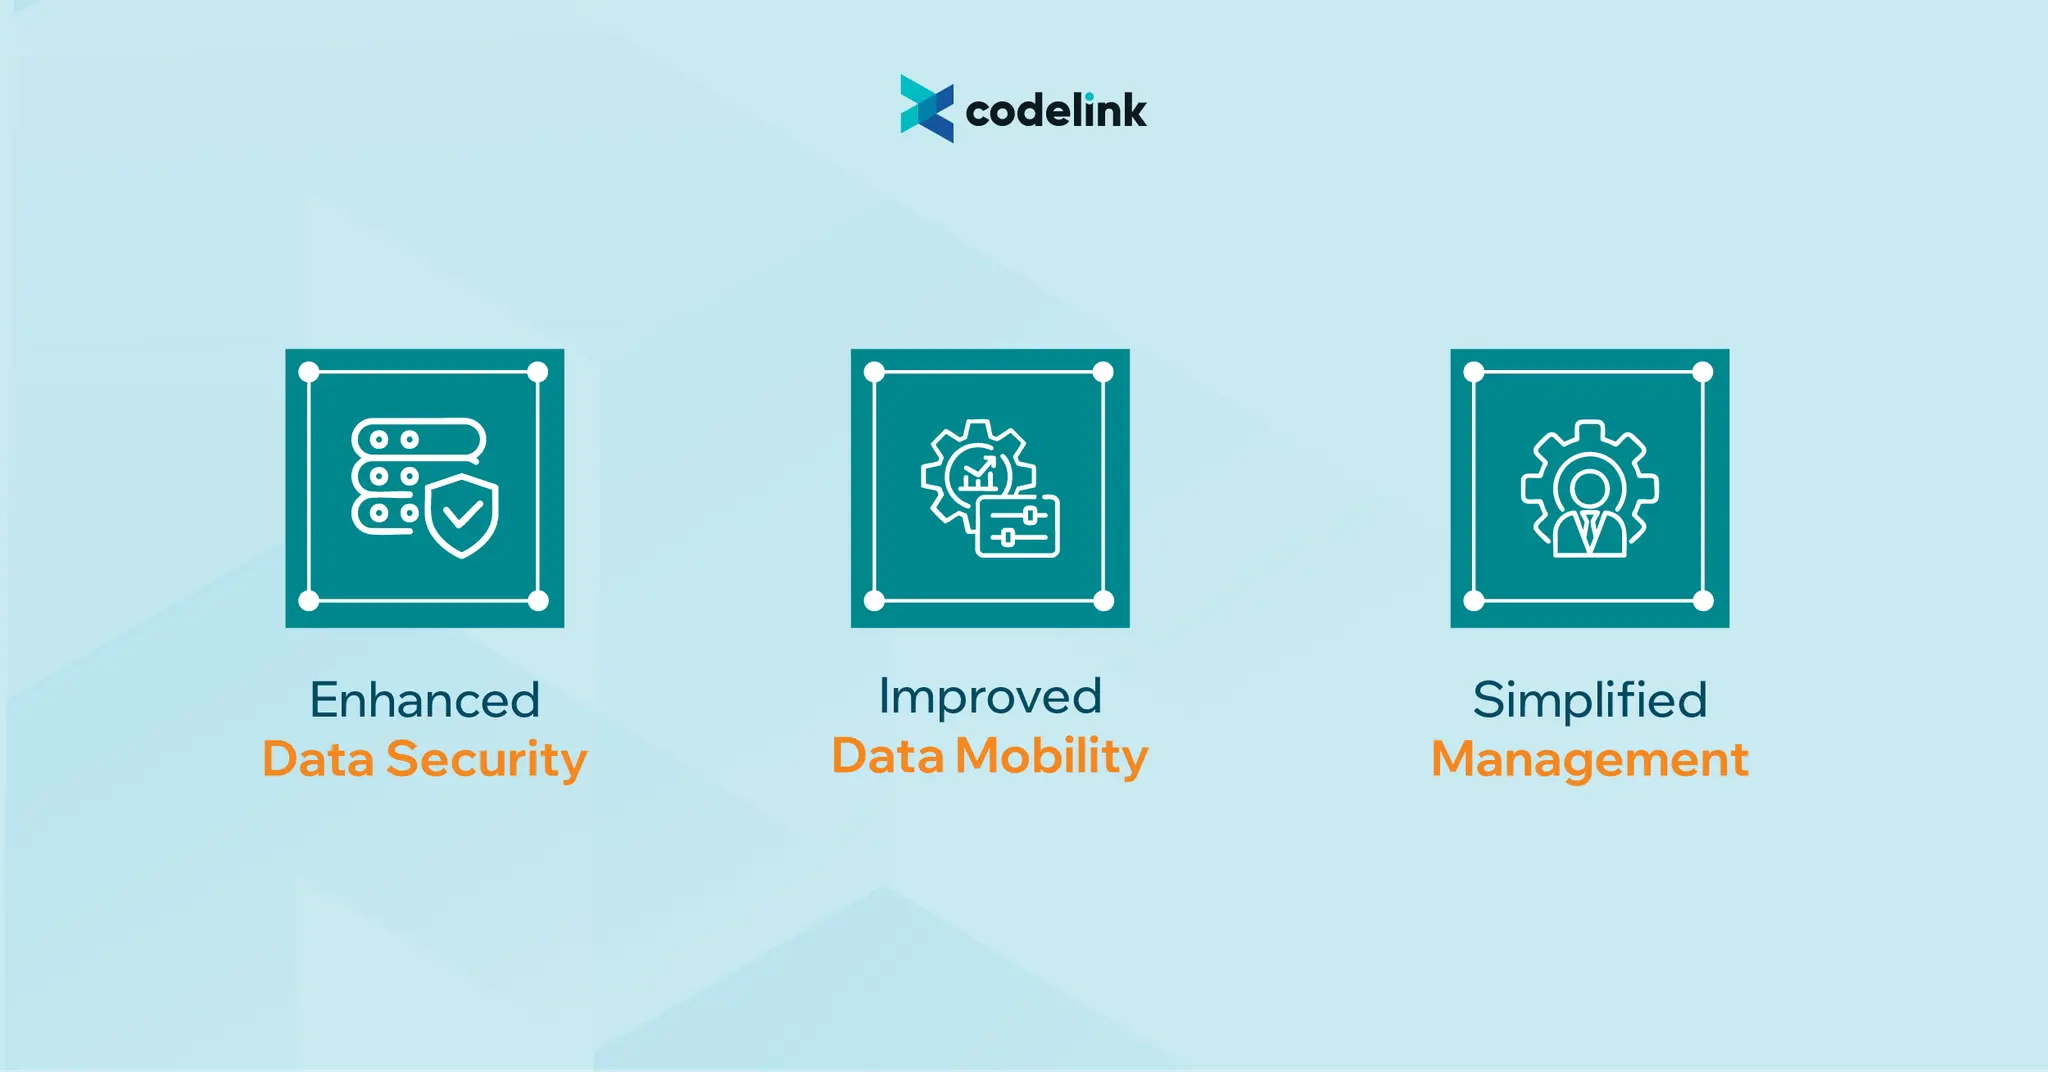
- The risk of data leakage is significantly reduced as the data is distributed across different schemas or databases, enhancing multi-tenant data security. While the tenancy logic remains in the application layer, it is now confined within a compact and well-protected middleware. This allows us to define the logic just once, eliminating the need to revisit it with each modification.
- Transferring a tenant's data to a different database becomes straightforward, improving multi-tenant data mobility. We must back up the relevant schema and import it into the destination database. Deleting a tenant's data is also simplified, requiring just a single command to erase the targeted schema.
- The simplification of our SQL queries is another advantage, enhancing multi-tenant data query performance. Eliminating extra join clauses allows us to drop all tenant column indexes. Furthermore, as we have fewer records in each schema, the data of each table is significantly reduced, resulting in a modest performance enhancement.
Implementation Strategy for Building Scalable Multi-Tenant Application
Our end goal is to house each tenant's data in an individual schema or, potentially, a separate database, reinforcing multi-tenant data segregation. This necessitates modifying the tenancy logic within the application code and migrating all tenant data from the existing 'public' schema to their respective separate schemas. Given that these changes have extensive implications for the entire application and directly interact with data, extreme caution is warranted to prevent catastrophic errors. To manage this risk, we've devised a two-phased approach:
- Phase 1: Initially, we will leave the existing data as is. All current tenant data will continue to reside in the 'public' schema, while the data of new tenants will be stored in distinct schemas (or databases). We will revise our application code to handle both cases: multiple tenant data within a single schema (the existing 'public' schema) and individual tenant data in separate schemas. This strategy limits the risk to our current customers' data while enabling us to validate the new tenancy logic with new tenants.
- Phase 2: Upon successfully testing and monitoring our updated tenancy logic, we will transition all existing tenant data from the 'public' schema to individual schemas and eliminate the previous tenancy logic, strengthening multi-tenant data segregation.
Phase 1 Implementation Strategy for Building Scalable Multi-Tenant Application
In this phase, we aim to create a new tenancy logic code that can operate harmoniously with the existing one. Furthermore, we must establish a procedure for migrating databases across all individual schemas and databases.
The Current Tenancy Logic
Our current tenancy logic employs a 'tenants' table and a module known as WithTenant. The model's default scope will be applied when this module is incorporated.
module WithTenant
  extend ActiveSupport::Concern

  included do
    scope :with_tenant, lambda {
      joins("INNER JOIN tenants ON #{table_name}.tenant = tenants.name AND tenants.active = true")
    }

    default_scope -> { with_tenant }
  end
end
To ensure compatibility with the existing data format, we need to preserve this logic temporarily and phase it out during the second phase of our implementation. As this code will be maintained, each individual schema will be required to replicate the exact structure of the 'public' schema. The key difference is that the new schema will contain only one record in the 'tenants' table.
Storing the tenant and schema metadata
To keep track of the location of each tenant's data schema, we will establish new tables explicitly for housing this information. These tables will be located in a dedicated metadata schema, which we will name 'configuration'. The structure of these tables will be outlined as follows:

The 'db_configurations' table will contain details about databases, aligning with our objective to support multiple databases. On the other hand, the 'accounts' table will indicate the storage location of a tenant's data, specifying the schema and database. When we roll out Phase 1, we will execute a query to populate the 'accounts' table with existing data. This implies that all tenants will initially have 'public' as their schema_name and the id of the default database as their db_configuration_id. We will retain the special 'configuration' schema solely within the default database.
Implementing Schema-Based Tenancy Logic
Our aim is to devise tenancy logic that effortlessly switches to the specific schema associated with the tenant we intend to work with. We can achieve this by adjusting the search_path in PostgreSQL. For a more comprehensive understanding of this process, you can refer to the HackerNoon article, Your Guide To Schema-based, Multi-Tenant Systems and PostgreSQL Implementation.
In the context of the Rails framework, the 'apartment' gem is a popular choice for this purpose. However, it is no longer being actively maintained. Its clone, 'ros-apartment', also lacks support for some features we require and is not very actively developed. Upon evaluating our needs, we found that many features provided by 'apartment' were superfluous for our application. As a result, we decided to construct our own tenancy logic, drawing inspiration from the functionality offered by the 'apartment' gem.
module SchemaHandler
  extend self
  extend Forwardable

  class Handler
    DEFAULT_SCHEMA = 'public'
    PERSISTENT_SCHEMAS = %w[shared_extensions]
    EXCLUDED_MODELS = %w[Currency]

    def initialize
      @current_schema = DEFAULT_SCHEMA
    end

    def init
      return unless is_using_postgresql

      EXCLUDED_MODELS.each do |excluded_model|
        excluded_model.constantize.tap do |klass|
          table_name = klass.table_name.split('.', 2).last

          klass.table_name = "#{DEFAULT_SCHEMA}.#{table_name}"
        end
      end
      ActiveRecord::Base.connection.schema_search_path = full_search_path
    end

    def switch!(schema = nil)
      return reset if schema.nil?
      raise ActiveRecord::StatementInvalid, "Could not find schema #{schema}" unless schema_exists?(schema)

      @current_schema = schema.to_s
      ActiveRecord::Base.connection.schema_search_path = full_search_path
      ActiveRecord::Base.connection.clear_query_cache
    end

    def switch(schema = nil)
      previous_schema = @current_schema
      switch!(schema)
      yield
    ensure
      begin
        switch!(previous_schema)
      rescue StandardError => e
        Rails.logger.error(e)
        reset
      end
    end

    def current
      @current_schema || DEFAULT_SCHEMA
    end

    def reset
      @current_schema = DEFAULT_SCHEMA
      ActiveRecord::Base.connection.schema_search_path = full_search_path
    end

    def excluded_models
      EXCLUDED_MODELS
    end

    private

    def full_search_path
      [@current_schema, PERSISTENT_SCHEMAS].flatten.map(&:inspect).join(',')
    end

    def schema_exists?(schema)
      ActiveRecord::Base.connection.schema_exists?(schema.to_s)
    end

    def is_using_postgresql
      ActiveRecord::Base.connection.adapter_name == 'PostgreSQL'
    end
  end

  def_delegators :handler, :switch, :switch!, :current, :reset, :init, :EXCLUDED_MODELS, :DEFAULT_SCHEMA

  def handler
    Thread.current[:schema_handler] ||= Handler.new
  end
end
The code is reasonably straightforward. Two crucial elements to highlight are the persistent_schemas and excluded_models.
Persistent schemas are those that are consistently included in the search_path, as demonstrated in the shared_extensions example above. This is essential because all schemas will need to utilize these extensions.
Excluded models are those whose associated tables do not reside in separate schemas. The data in these tables will be identical across all schemas, hence they are stored in a common location, in this instance, the 'public' schema.
With this module in place, whenever we need to engage with a specific schema, we can do so by utilizing the following code:
SchemaHandler.switch('my_schema') do
  # Our code here
end
Alternatively, we can switch the entire context using:
SchemaHandler.switch!('my_schema')
To determine which schema we are currently working with, we can use:
SchemaHandler.current
However, before utilizing this module, we need to initialize it in an initializer:
SchemaHandler.init
Additionally, within the initializer, we include a monkey patch for Active Record to ensure that whenever a new connection is established, it switches to the same schema as before:
module ActiveRecord
  module ConnectionHandling
    def connected_to_with_schema(database: nil, role: nil, shard: nil, prevent_writes: false, &blk)
      current_schema = SchemaHandler.current

      connected_to_without_schema(database: database, role: role, shard: shard, prevent_writes: prevent_writes) do
        SchemaHandler.switch!(current_schema)
        yield(blk)
      end
    end

    alias connected_to_without_schema connected_to
    alias connected_to connected_to_with_schema
  end
end
Finally, in the database.yml, we must add the default schema_search_path:
default: &default
  adapter: postgresql
  encoding: unicode
  pool: <%= ENV.fetch("RAILS_MAX_THREADS") { 5 } %>
  host: <%= ENV['DB_HOSTNAME'] %>
  port: <%= ENV['DB_PORT'] %>
  username: <%= ENV['DB_USERNAME'] %>
  password: <%= ENV['DB_PASSWORD'] %>
  schema_search_path: "public,shared_extensions"
Supporting multiple databases
Fortunately, Rails 6 introduces support for multiple databases, simplifying our tasks considerably. You can find detailed setup instructions in the Multiple Databases with Active Record section of the Ruby on Rails Guides.
default: &default
  adapter: postgresql
  encoding: unicode
  pool: <%= ENV.fetch("RAILS_MAX_THREADS") { 5 } %>
  schema_search_path: "public,shared_extensions"

production:
  default:
    <<: *default
    username: <%= ENV['DEFAULT_DB_USERNAME'] %>
    password: <%= ENV['DEFAULT_DB_PASSWORD'] %>
    host: <%= ENV['DEFAULT_DB_HOSTNAME'] %>
    port: <%= ENV['DEFAULT_DB_PORT'] %>
    database: <%= ENV['DEFAULT_DB_NAME'] %>
  db1:
    <<: *default
    username: <%= ENV['DB1_USERNAME'] %>
    password: <%= ENV['DB1_PASSWORD'] %>
    host: <%= ENV['DB1_HOSTNAME'] %>
    port: <%= ENV['DB1_PORT'] %>
    database: <%= ENV['DB1_NAME'] %>
  db2:
    <<: *default
    username: <%= ENV['DB2_USERNAME'] %>
    password: <%= ENV['DB2_PASSWORD'] %>
    host: <%= ENV['DB2_HOSTNAME'] %>
    port: <%= ENV['DB2_PORT'] %>
    database: <%= ENV['DB2_NAME'] %>
Additionally, we add this to application_record.rb:
databases =  Rails.application.config.database_configuration[Rails.env].keys
db_configs = databases.each_with_object({}) do |db, configs|
db_key = db.to_sym
configs[db_key] ||= {}
configs[db_key][:writing] = db_key
configs[db_key][:reading] = db_key
end

connects_to shards: db_configs
Database and schema selection for each tenant
Before processing any HTTP request, it's crucial to determine the tenant from which the request originates and subsequently set the appropriate database and schema for that tenant. Below is the code to retrieve the database and schema of a tenant, which we have incorporated into the SchemaHandler module:
  def set_connection(tenant: nil, schema: nil)
    config = self.get_connection_config(tenant: tenant, schema: schema)
    raise(ActionController::RoutingError, 'No Tenant Found') unless config

    ActiveRecord::Base.connected_to_without_schema(role: :writing, shard: config[:shard]) do
      self.switch(config[:schema]) { yield }
    end
  end

  def get_connection_config(tenant: nil, schema: nil)
    return if tenant.blank? && schema.blank?

    query = "
      SELECT *
      FROM configuration.accounts AS accounts
      INNER JOIN configuration.db_configurations AS config
      ON accounts.db_configuration_id = config.id
      WHERE account.tenant = '#{tenant.to_s}' OR account.schema_name = '#{schema.to_s}'
      LIMIT 1
    "
    configs = []
    ActiveRecord::Base.connected_to_without_schema(role: :reading, shard: :default) do
      ActiveRecord::Base.connection_pool.with_connection do |connection|
        configs = connection.exec_query(query).entries
      end
    end
    return if configs.blank?

    shard = self.get_shard_from_jdbc_url(configs.first['jdbc_url'])
    {
      shard: (shard || "").to_sym,
      schema: configs.first['schema_name']
    }
  end

  def is_tenant_existed(tenant)
    return false if tenant.blank?

    query = "
      SELECT count(*)
      FROM configuration.accounts
      WHERE tenant = '#{tenant}'
    "
    rs = []
    ActiveRecord::Base.connected_to_without_schema(role: :reading, shard: :default) do
      ActiveRecord::Base.connection_pool.with_connection do |connection|
        rs = connection.exec_query(query).entries
      end
    end
    return false if rs.blank?
    return false if rs.first['count'] < 1

    true
  end

  def get_all_schemas
    query = "SELECT DISTINCT(schema_name) FROM configuration.accounts"
    ActiveRecord::Base.connected_to_without_schema(role: :reading, shard: :default) do
      ActiveRecord::Base.connection_pool.with_connection do |connection|
        return connection.exec_query(query).rows.flatten
      end
    end
  end

  def get_shard_from_jdbc_url(jdbc_url)
    db_configs = Rails.application.config.database_configuration[Rails.env]
    db_configs.keys.find do |key|
      config = db_configs[key]
      url = "jdbc:postgresql://#{config['host']}:#{config['port']}/#{config['database']}"
      url == jdbc_url
    end
  end
We require the frontend application to include a 'tenant-name' header in every request. We then establish the connection within a Rack middleware, as shown below:
class DatabaseSelection
  def initialize(app)
    @app = app
  end

  def call(env)
    tenant = env["HTTP_TENANT_NAME"]
    if tenant.present?
      SchemaHandler.set_connection(tenant: tenant) do
        @app.call(env)
      end
    else
      raise(ActionController::RoutingError, 'No Tenant Found') if !is_no_tenant_whitelisted(env['REQUEST_METHOD'], env['PATH_INFO'])

      @app.call(env)
    end
  end

  private
  def is_no_tenant_whitelisted(method, path)
    return true if /^\\/sidekiq/.match(path)
    return true if /(.ico|.js|.txt)$/.match(path)

    @whitelist_api ||= [
      {
        method: "GET",
        path: "/v1/example_path"
      },
      # Others endpoints here
    ]
    @whitelist_api.any? { _1[:method] == method && _1[:path] == path }
  end
end
Sidekiq dashboard, resource files, or certain API endpoints don't need to be specific to a particular tenant, so we whitelist them
Additionally, we ensure that the connection is set before processing any job. To accomplish this, we save the current schema when queuing the job and then set the connection before processing it. Both of these tasks can be achieved by registering middlewares:
class SidekiqClientSetSchema
  def call(worker_class, job, queue, redis_pool=nil)
    job["db_schema"] ||= SchemaHandler.current
    yield
  end
end

class SidekiqServerSetSchema
  def call(worker_class, job, queue)
    schema = job['db_schema'] || 'public'
    SchemaHandler.set_connection(schema: schema) do
      yield
    end
  end
end

Sidekiq.configure_client do |config|
  config.client_middleware do |chain|
    chain.add SidekiqClientSetSchema
  end
end

Sidekiq.configure_server do |config|
  config.client_middleware do |chain|
    chain.add SidekiqClientSetSchema
  end
end
With these implementations, we now have a fully functional multi-database, multi-schema structure.
Database Migration
Rails' default migration tool doesn't suit our needs for migrating multiple schemas. Additionally, we chose not to replicate the migration feature of the 'apartment' gem, given its lack of support for concurrent migration execution. Given the number of tenants, waiting hours for each migration during a new version release is unfeasible.
Our client's engineering team recommended Flyway and successfully used it to manage their migrations. We chose to adopt Flyway due to its simplicity, speed, reliability, and successful implementation by our client's engineering team. Their existing codebase and experiences allowed us to transition smoothly to Flyway.
Furthermore, Flyway ensures that all database migrations are written in raw SQL, which makes the review process and feedback from our DBA team more efficient.
In line with this decision, we have initiated a dedicated service application responsible for managing migrations. This service also exposes an API endpoint for creating new tenant schemas. While the details of the Flyway setup and code implementation exceed the scope of this article, our migration files are structured as follows:
migration-app/
├─ common_sql/
│  ├─ version_1/
│  │  ├─ init-common.sql
├─ configuration_sql/
│  ├─ version_1/
│  │  ├─ init-configuration.sql
│  │  ├─ add_column.sql
├─ shared_extensions_sql/
│  ├─ version_1/
│  │  ├─ init-shared_extensions.sql
├─ tenant_sql/
│  ├─ application_sql/
│  │  ├─ version_1
│  │  │  ├─ init_tenant.sql
│  │  ├─ version_2
│  │  │  ├─ add_column_to_table_A.sql
│  │  │  ├─ create_table_B.sql
│  ├─ repeatable_script/
│  │  ├─ functions
│  │  │  ├─ function_A.sql
│  │  │  ├─ function_B.sql
│  │  ├─ triggers
│  │  │  ├─ trigger_A.sql
│  │  │  ├─ trigger_B.sql
The 'common_sql', 'configuration_sql', and 'shared_extensions_sql' folders are designated for storing all migrations related to the common schema (the 'public' schema), the 'configuration' schema, and the 'shared_extensions' schema, respectively. Meanwhile, the 'tenant_sql' folder will house all migrations pertaining to each tenant's schema. It will execute all scripts within this directory upon creating a new schema. The 'init_tenant.sql' file can be obtained by exporting the current database's public schema.
The version number will correspond to the application's version upon its release. Flyway maintains logs of migrations in a table called 'schema_version'. To ensure that we have the latest migrations when deploying our Rails app, we need to execute a query to retrieve the latest migration version from the 'schema_version' table and then compare it to the version of our Rails app within an initializer.
Phase 2 Implementation Strategy for Building Scalable Multi-Tenant Application
While we haven't yet executed Phase 2, the theoretical approach involves copying data from the 'public' schema to the respective separate schema. Following this, we would update the 'schema_name' of the tenant in the 'configuration.accounts' table to align with the new separate schema. Once these steps are completed, we can safely remove the WithTenant module from the old codebase. We plan to update this article once Phase 2 has been fully implemented.
Conclusion
In conclusion, the journey towards building a scalable multi-tenant application with a robust multi-database, multi-schema architecture has been both challenging and rewarding. By leveraging tools like Flyway, adopting best practices, and collaborating closely with our client's engineering team, we have successfully crafted a solution that meets our scalability and performance requirements.
We hope that sharing our experiences in this article has provided valuable insights for others embarking on building scalable multi-tenant applications. As always, we remain dedicated to pushing the boundaries of innovation and delivering exceptional solutions to our customers.
Thank you for joining us on this journey!

Ha Bui
Former Full-stack Developer
Ha Bui is a Full-Stack Developer with more than eight years of experience, excels in JavaScript, TypeScript, Ruby, ReactJS, and cloud platforms, delivering high-performance, user-centric applications.


